
 |
Lets build some drum pads!
*********************************************************************************************This is Part 4 of 4 in the guide to Making Arduino Sampling Drum Pads
*********************************************************************************************
SOFTWARE
Required Software / Get Set Up
************************************************************************

Create Desktop Folder
We also need to create a folder on our desktop where we can keep our files;
Right click on the desktop -> new -> Folder
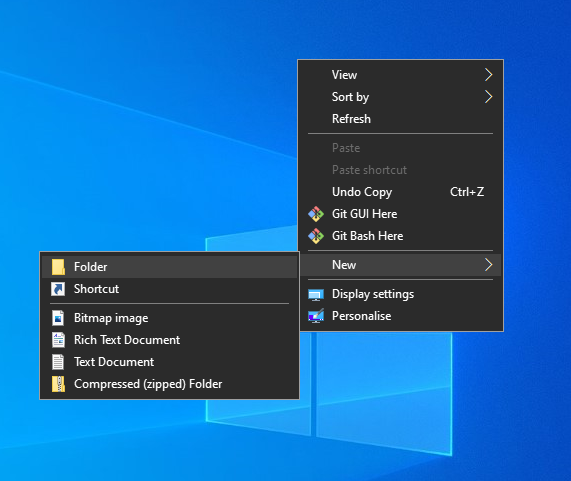


open the pythonCode folder and right click in a space > New > Text Document;


...Then click save. A file like this...

...will now be in our folder. You can delete the 'new text document' file.
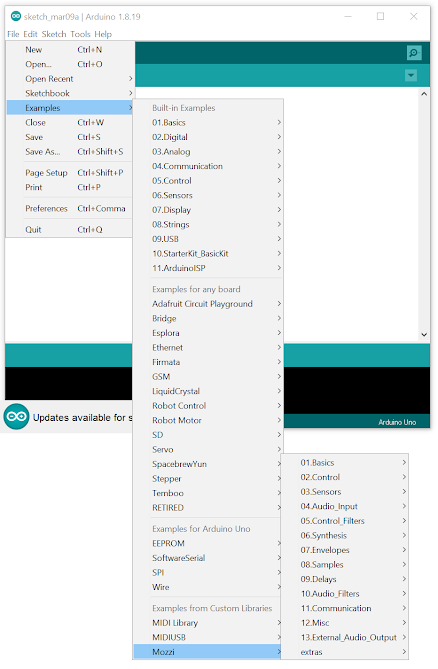
Convert A Sample In Audacity
************************************************************************
The Drum Sampler can hold 2 samples, but we need those samples to be roughly the same length (otherwise you’ll hear the end of the longer one when you play the shorter one).
Open your audio files in separate windows in Audacity.
Compare both files and make them roughly the same length. One of my files was 0.30 seconds long, the other 0.25. I Copy and pasted a section of the end of the shorter one until they both were 0.30 seconds long;
 |
| Extended Audio |
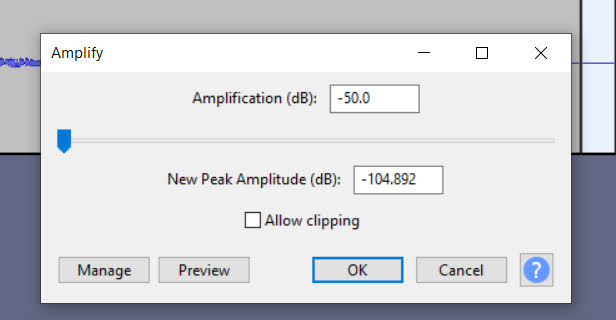
We can only use MONO samples;
If your sample is in Stereo;
Split Stereo to mono (found in wav name left drop down menu)
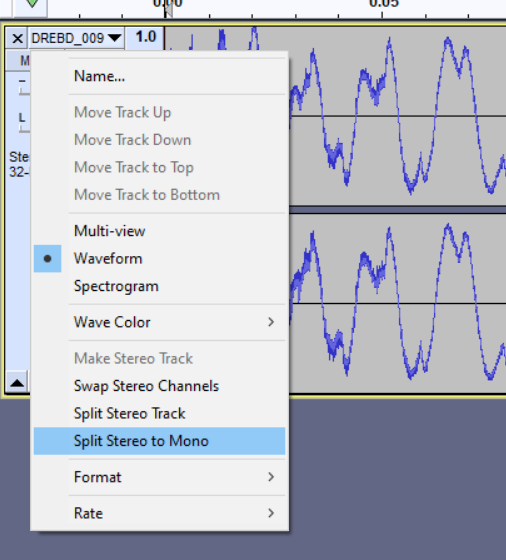
Delete second track
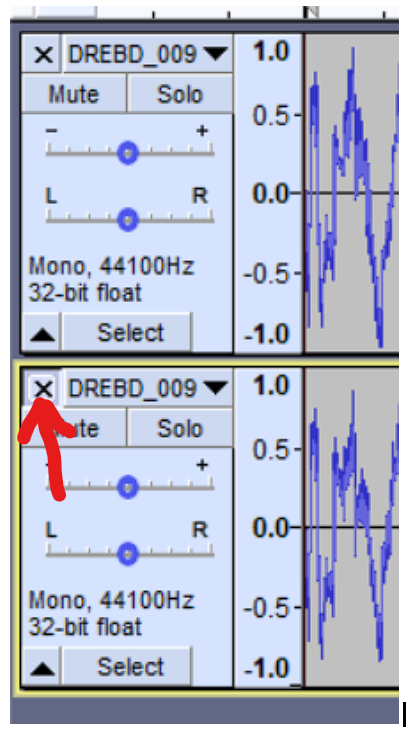
Ok, now we're working in MONO!
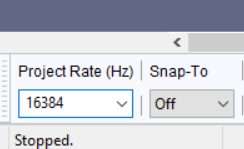
Set Project Rate (Hz) to 16384 (bottom left of screen);
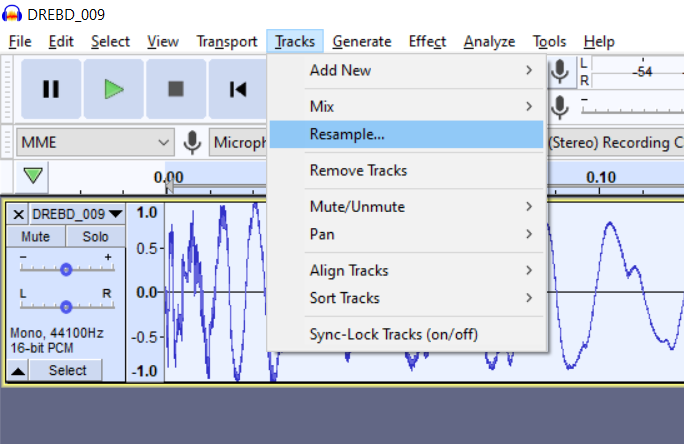
Change sample name -> format -> 16 bit PCM;

Select the whole audio file (Ctrl-A), then -> Tracks -> Resample
(16384Hz) and click OK;

File -> Export as -> Export Selected Audio
save as type: Other uncompressed files
Header: RAW (header-less)
Encoding Signed 8-bit PCM
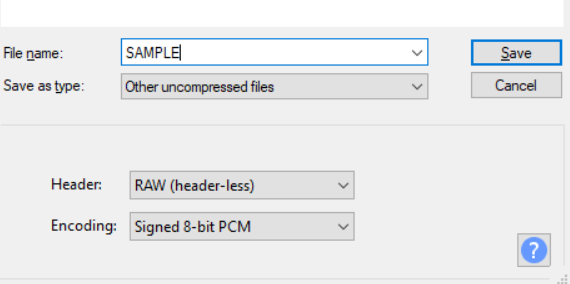
Save these files in the pythonCode folder we created on the desktop.
Make sure you've gone through the above steps with both the audio samples you wish to
use with the drum pad.
You now have the .RAW file ready (it should be in your desktop folder), we just now need to
convert that into a header file so that the Arduino can play it back. For that we'll use the terminal...
************************************************************************
Using The Terminal To Create Header
Files
************************************************************************
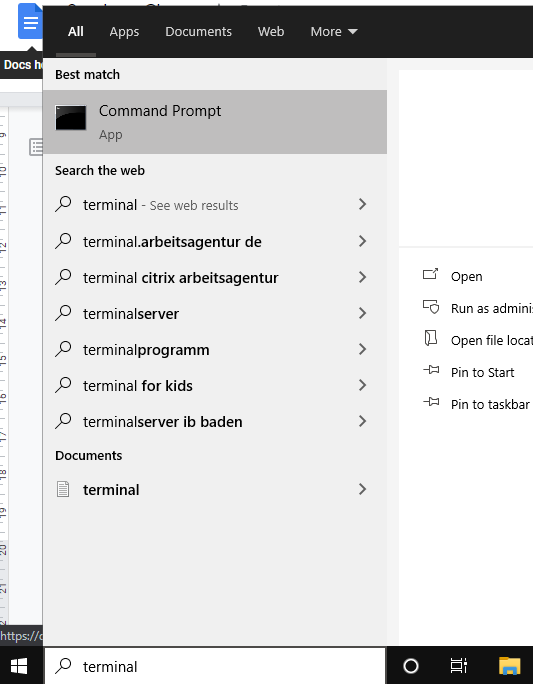
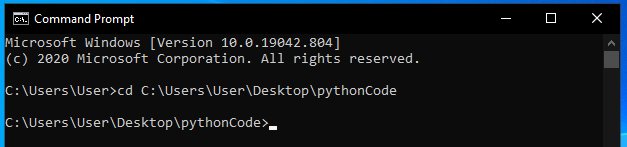
Open that up and an ominous black window will open;
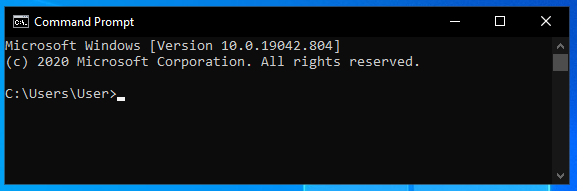
Ok, you can see we're currently in the directory:
C:\Users\User
your version will obviously vary depending on your user name (C:\Users\BigDaddy etc). Don't worry about that, just bear that it mind if you copy & paste from this page later. Now we need to change directories so we're looking into our pythonCode folder. So we'll type something like;
cd pathOfOurFolder
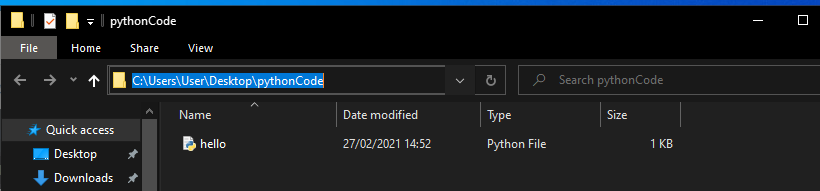
The 'cd' is telling the computer to change directory. The next part is our folder location, although it's clearly not correct. Lets go find that now. Using the mouse open the desktop folder we created. And then click in the top bar to reveal the file path;
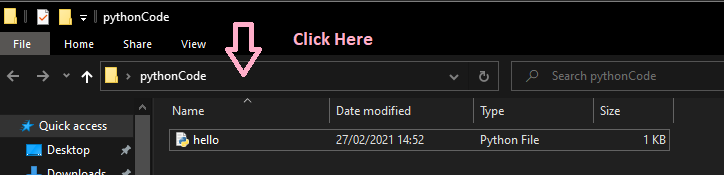
Once you can see the file path, highlight it with the mouse and copy it (ctrl-c);

If you were using a file named ‘bassDrum’, you’d just need to replace all mentions above of Snare01 to bassDrum (there should be 3 changes to make, keeping the _int8.h, and using capital letters) and the line would look like this;
python char2mozzi.py "C:\Users\user\Desktop\pythonCode\bassDrum.raw" "C:\Users\user\Desktop\pythonCode\bassDrum_int8.h" BASSDRUM 16384

Let's go back to using the example. To understand what this command does; the first word ‘python’ (1.) tells the computer to use the coding language python, next ‘char2mozzi.py’ (2.) says that it should use that particular bit of code, then the location of the file we want to convert (3.), after that, where we want to send the newly converted file (and change the filename to show this by adding _int8 to the end) (4.). After that, the tablename (BASSDRUM) (5.), and the samplerate (16384) (6.)
Run the Command;
When you press enter, the code will do its thing, then you should have two lines of text informing you that a file was opened, and another was written.
Success Example:
Error Example:
If you have any errors here, double check your spelling and try again. Check the directory C:\Users\YOURNAME is correct (Check it against the file directory in your desktop pythonCode folder). Sometimes it doesn’t like it if you’ve copied and pasted the text, so try manually typing it instead (when I copied & pasted it added extra '\'. Also make sure your slashes are facing the correct way: '\' and not '/'. Check your spelling and if anything needs a capital letter etc. If there’s another error, look at what text is returned, and see if you can figure out how to fix it.
Got it working? Good! Let's continue...
Add the Samples To The Arduino
************************************************************************
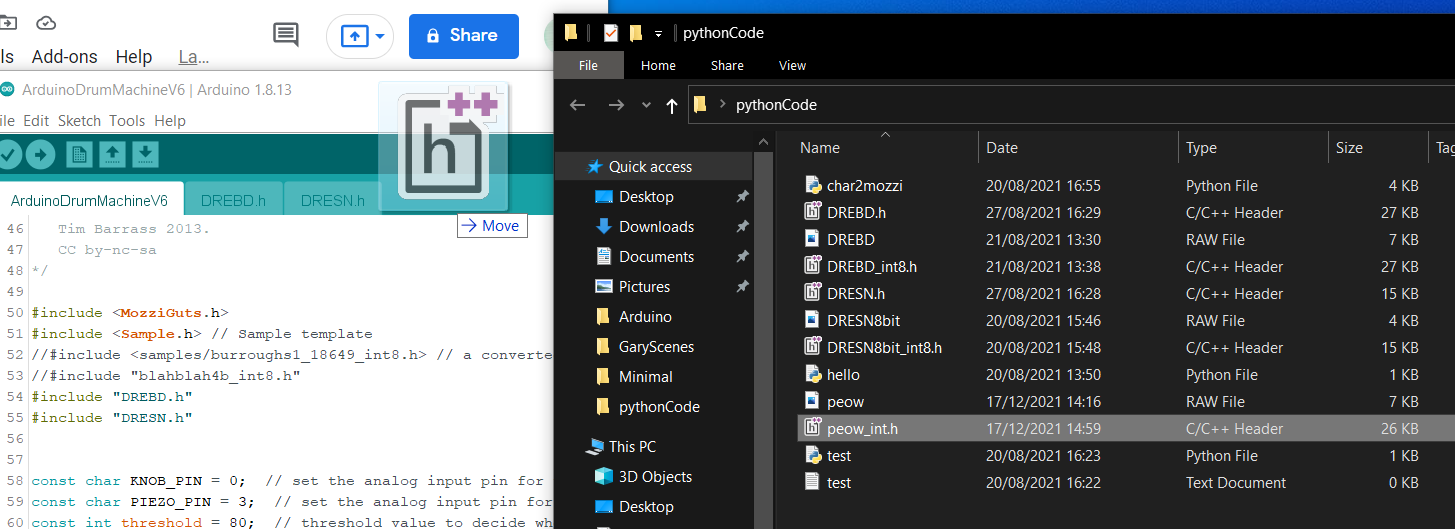
Looking into our python folder now should show we have a .h file that we can drag into our Arduino file.
Open the drum machine code in the Arduino IDE, and open the pythonCode desktop folder and drag in your newly created 'mySample_int8.h' file to the top part of the Arduino code (a new .h tab will open);
Now you need to go through the code, swapping out any mentions of the sample you want to replace, and changing it to reflect the name of your new sample.
Lets Go through that now;
Fist off, we need to include the names of our .h files, so we'll replace the two #include rows on lines 54/55 with our own;


So if you created a sample named BASSDRUM, and a second sample named SNARE, you'd update the code to look like;
Now for the final change;

So we'll have;
aSample.setTable(SNARE_DATA);
&
aSample.setTable(BASSDRUM_DATA);
Now upload to the Arduino & you should be able to drum away.
Have Fun!
No comments:
Post a Comment
Say something...